

Onboarding wizard: add your brand and connect your ESP
After you verify your email, a short setup wizard gets your first brand monitored: Welcome → Add your brand → Select your ESP → Google Postmaster. Your 14-day free trial starts here — no credit card required.
Nothing in the wizard is permanent. Click Skip for now at any point to jump straight to your dashboard and finish setup later.
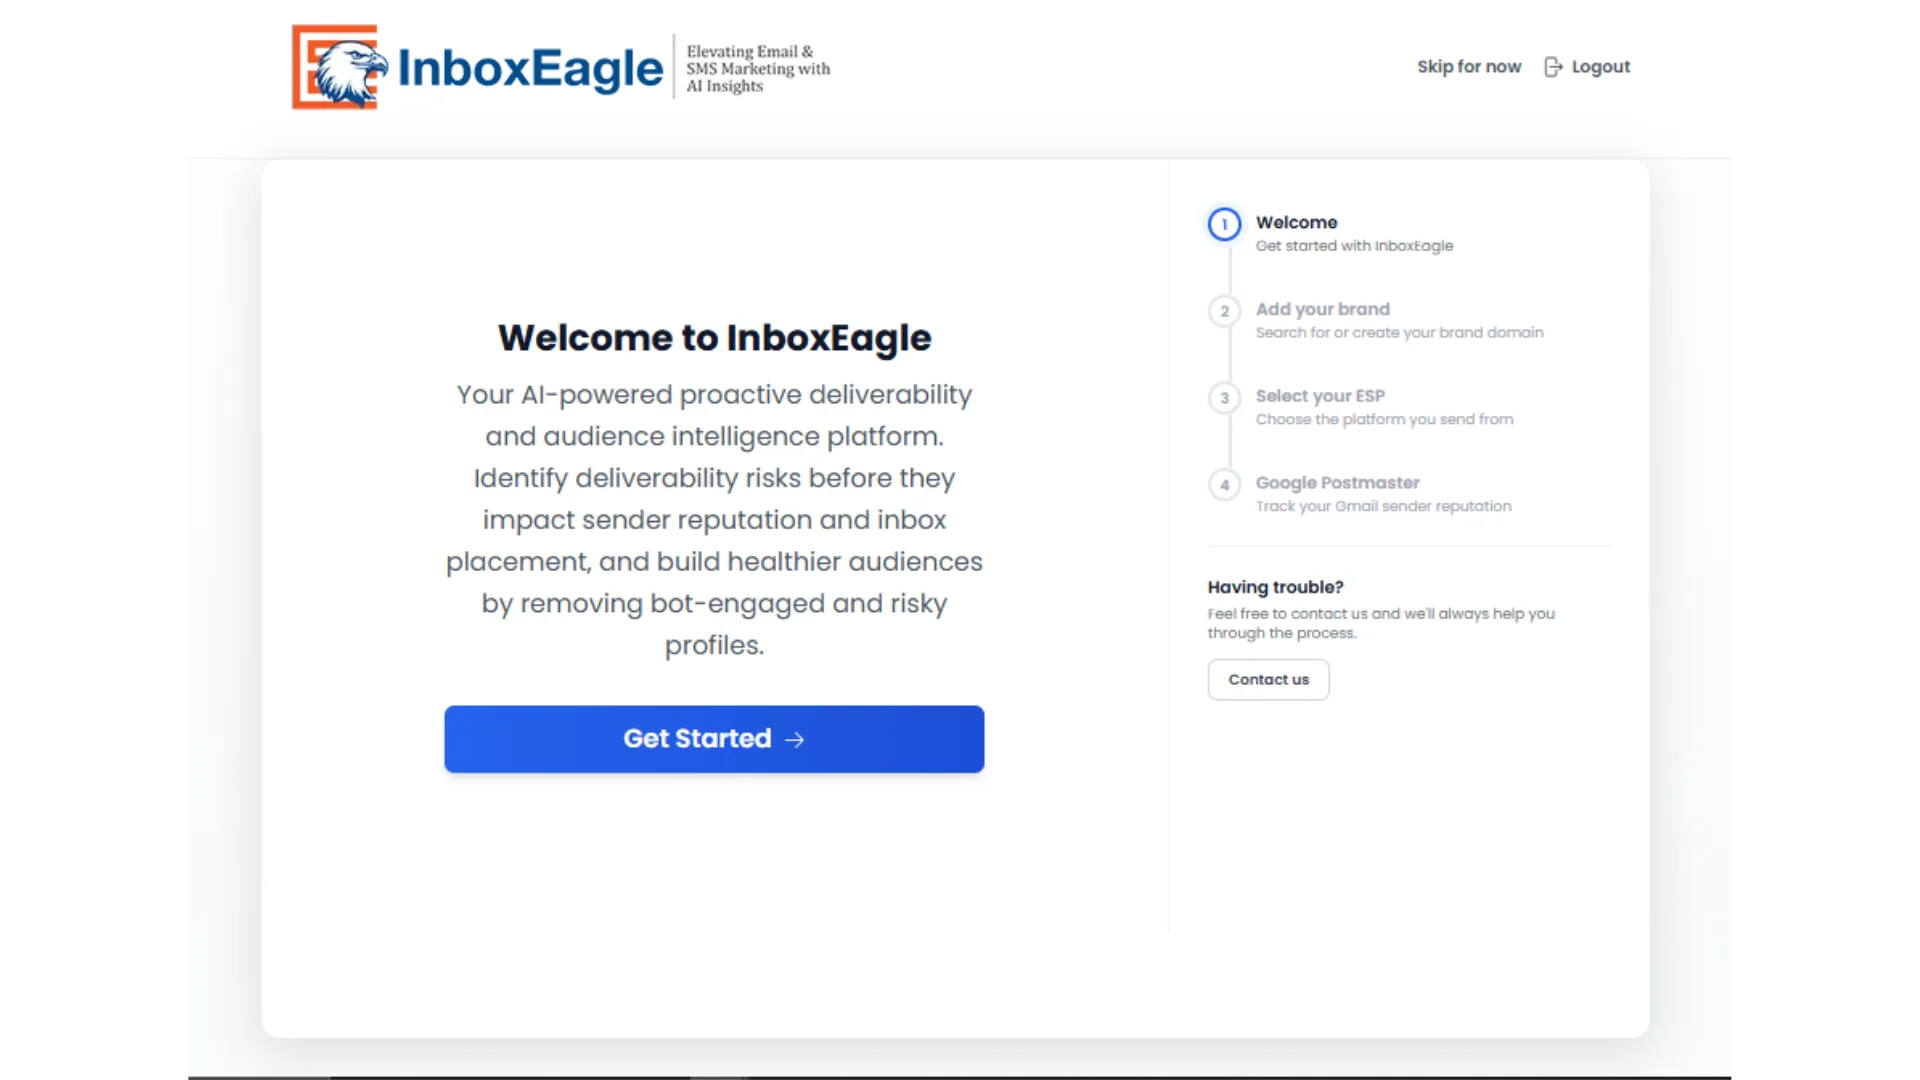
Click Get Started to begin.
Add your brand
Section titled “Add your brand”InboxEagle uses your brand’s sending domain to track deliverability, reputation, and inbox placement.
-
Search for your brand or agency by name. Matching brands already in InboxEagle appear as you type.
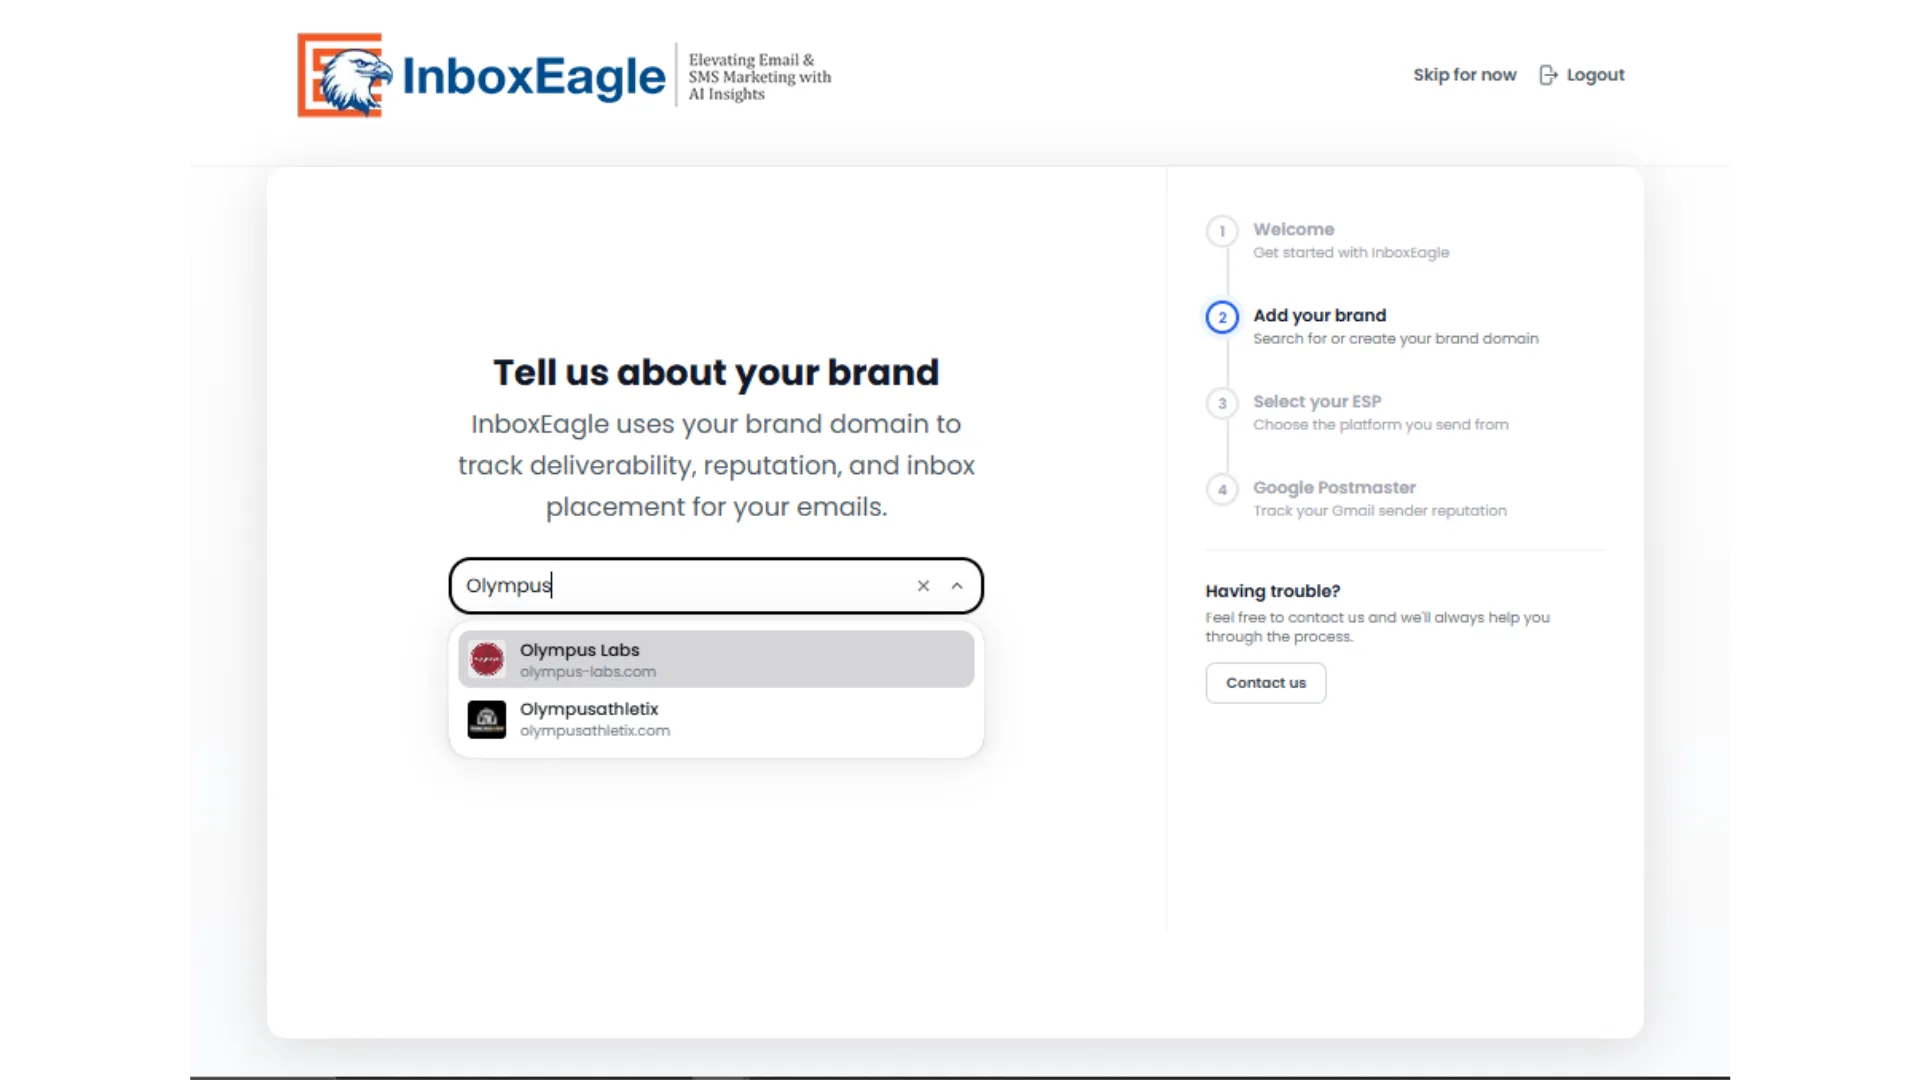
-
If your brand appears in the results, select it and go to step 3. If not, click Can’t find your brand? Create a new one and enter your brand’s domain or website (for example,
example.com).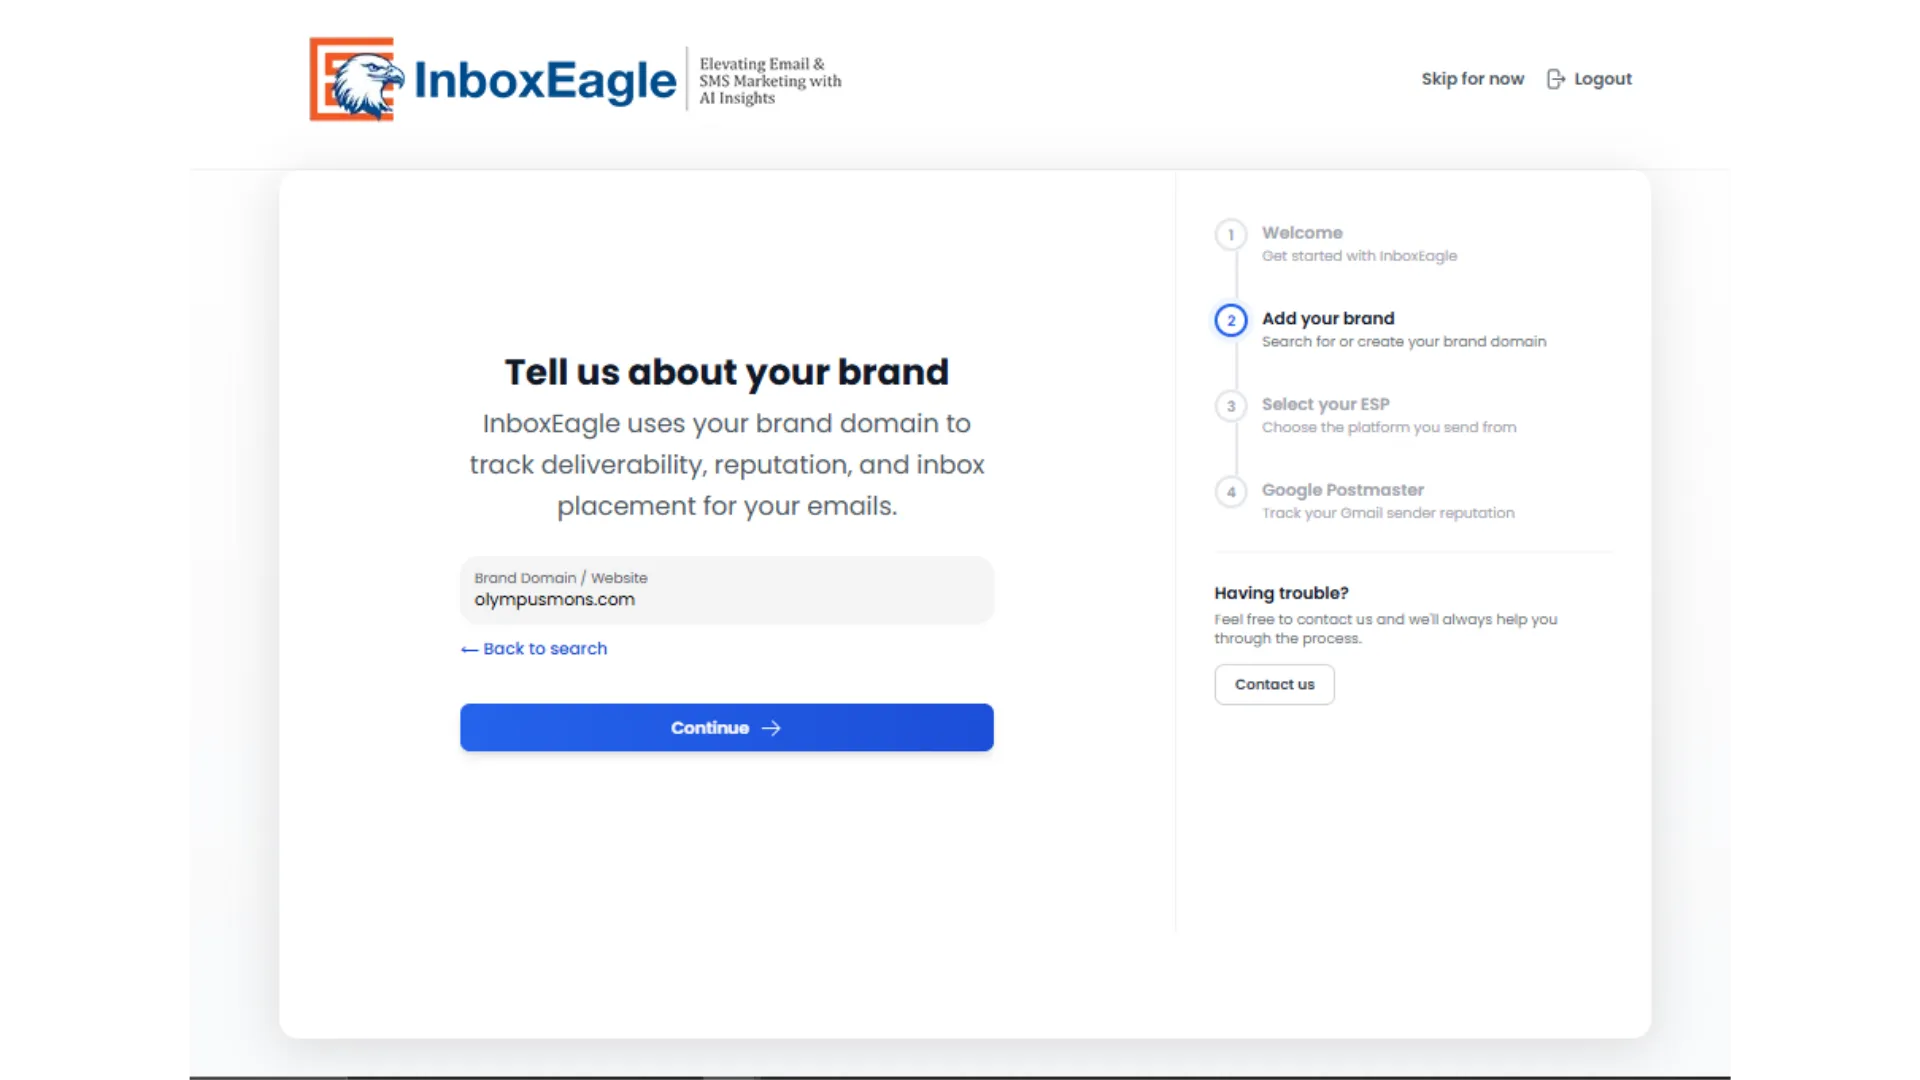
-
Click Continue.
Select your ESP
Section titled “Select your ESP”Choose the email service provider (ESP) you send from so InboxEagle can configure the right connection and start tracking placement.
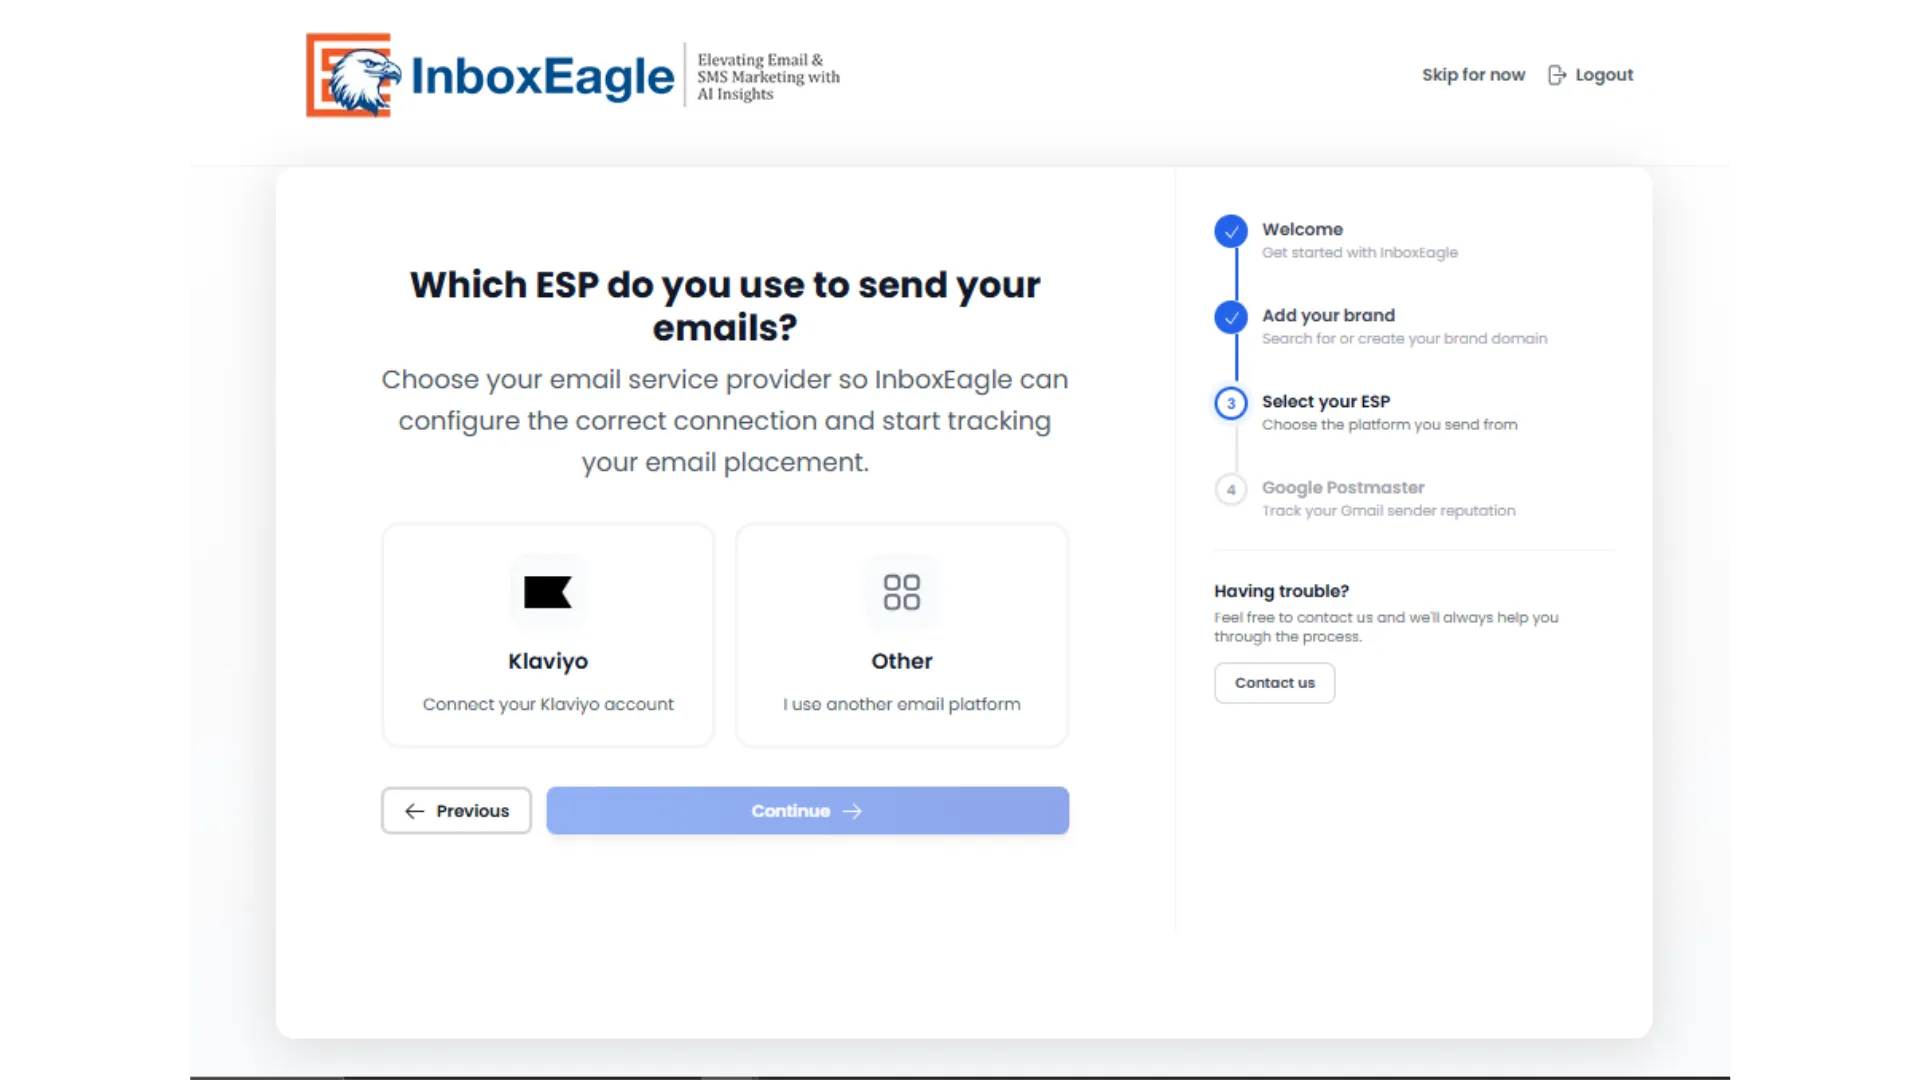
-
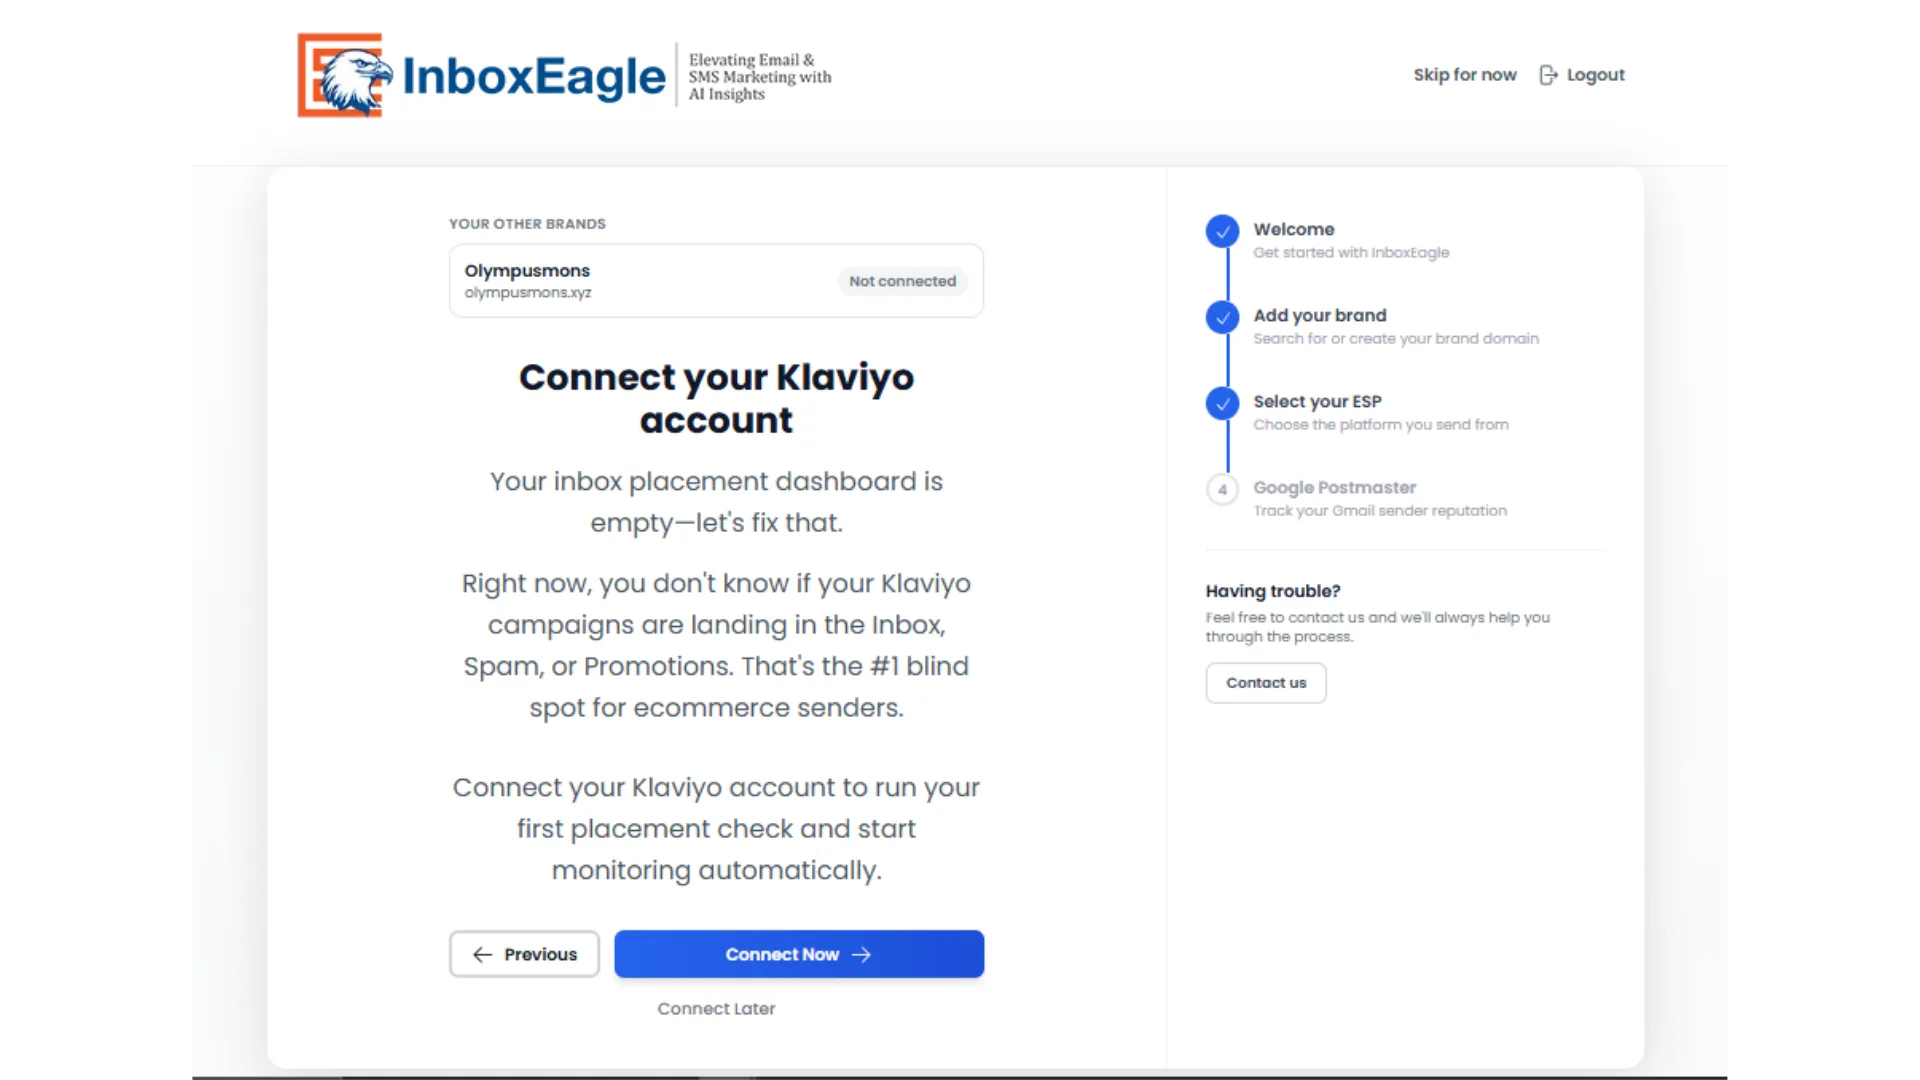
Select Klaviyo, then click Connect Now (or Connect Later to skip this step for now).
-
Log in to Klaviyo when prompted.
-
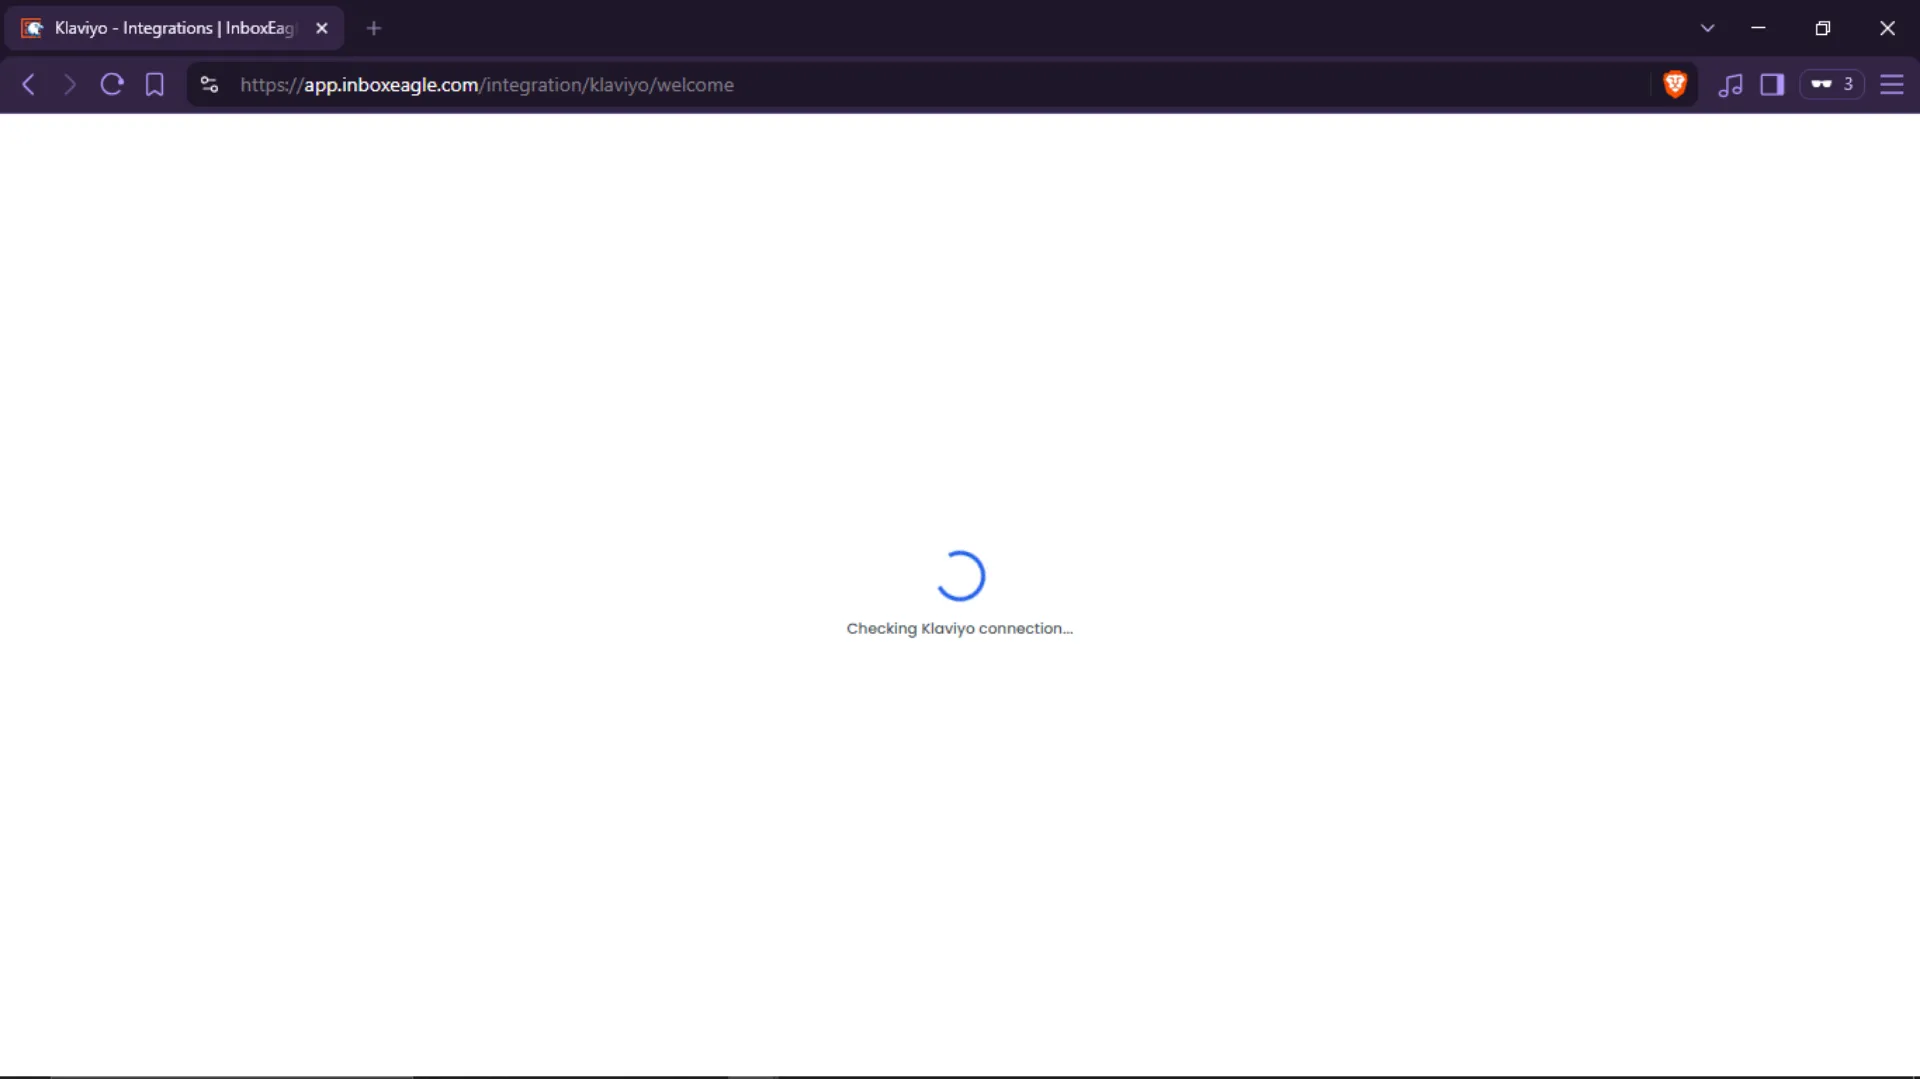
After a successful login, you’re redirected back to your InboxEagle account and the connection is verified automatically.
-
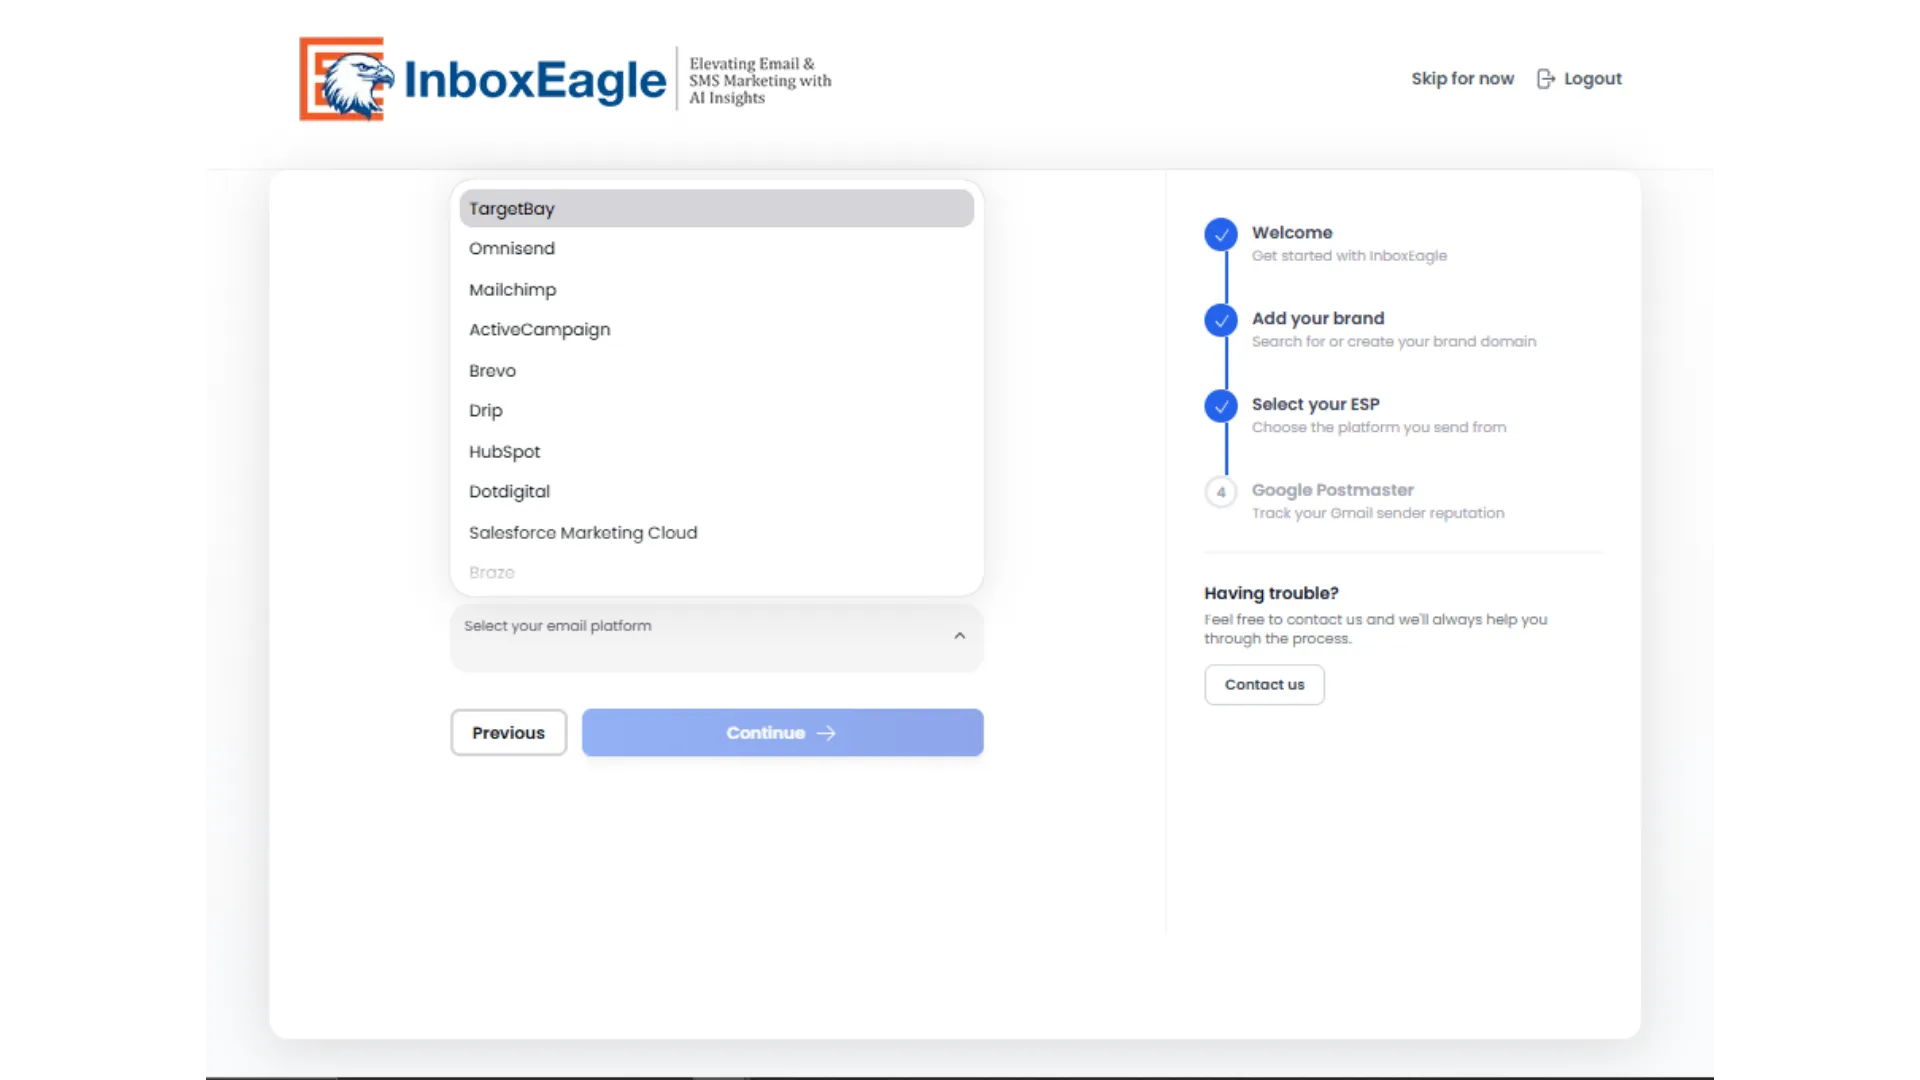
Select Other, then click Continue.
-
Choose your email platform from the list (Omnisend, Mailchimp, ActiveCampaign, Brevo, Drip, HubSpot, Dotdigital, Salesforce Marketing Cloud, or another platform not yet listed).
-
Click Continue.
Connect Google Postmaster Tools
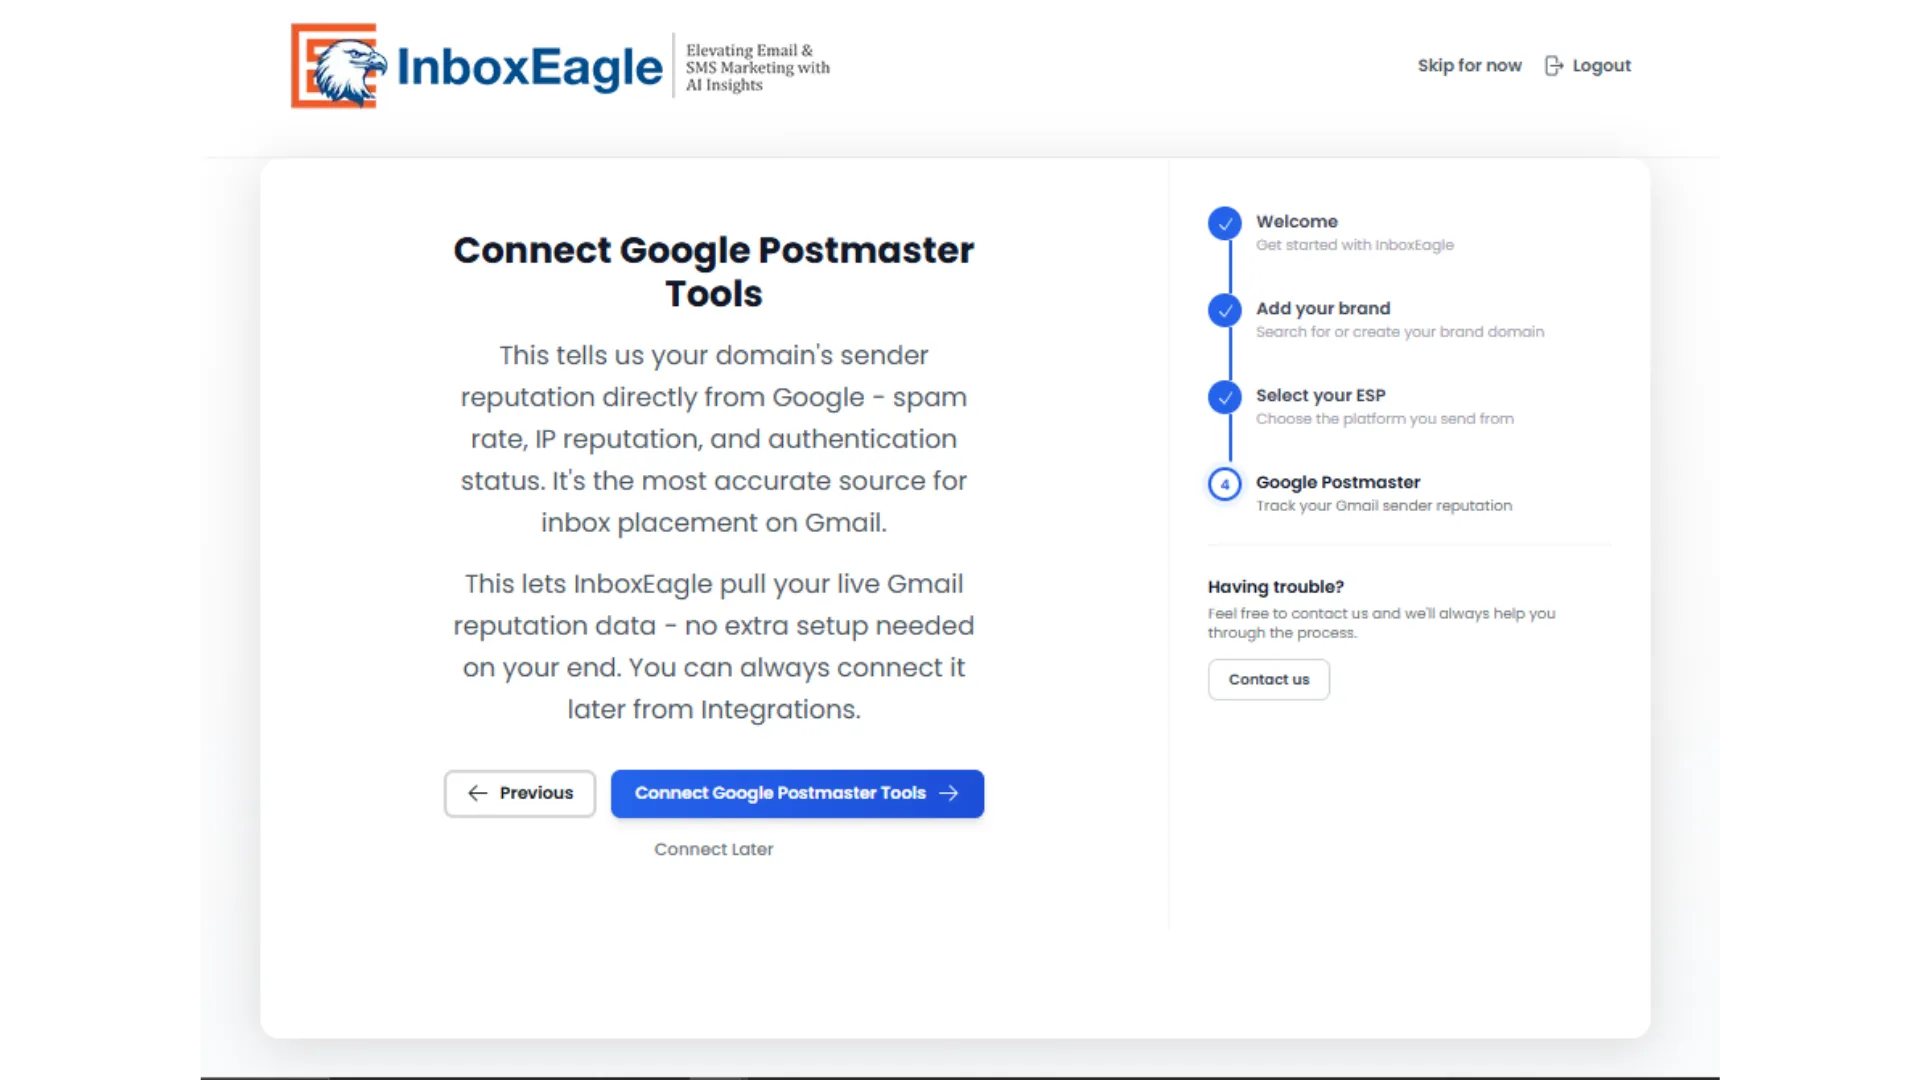
Section titled “Connect Google Postmaster Tools”Google Postmaster Tools gives InboxEagle your domain’s sender reputation directly from Google: spam rate, IP reputation, and authentication status. It’s the most accurate source for inbox placement on Gmail, and requires no extra setup on your end beyond authorizing the connection.
-
Click Connect Google Postmaster Tools (or Connect Later to skip).
-
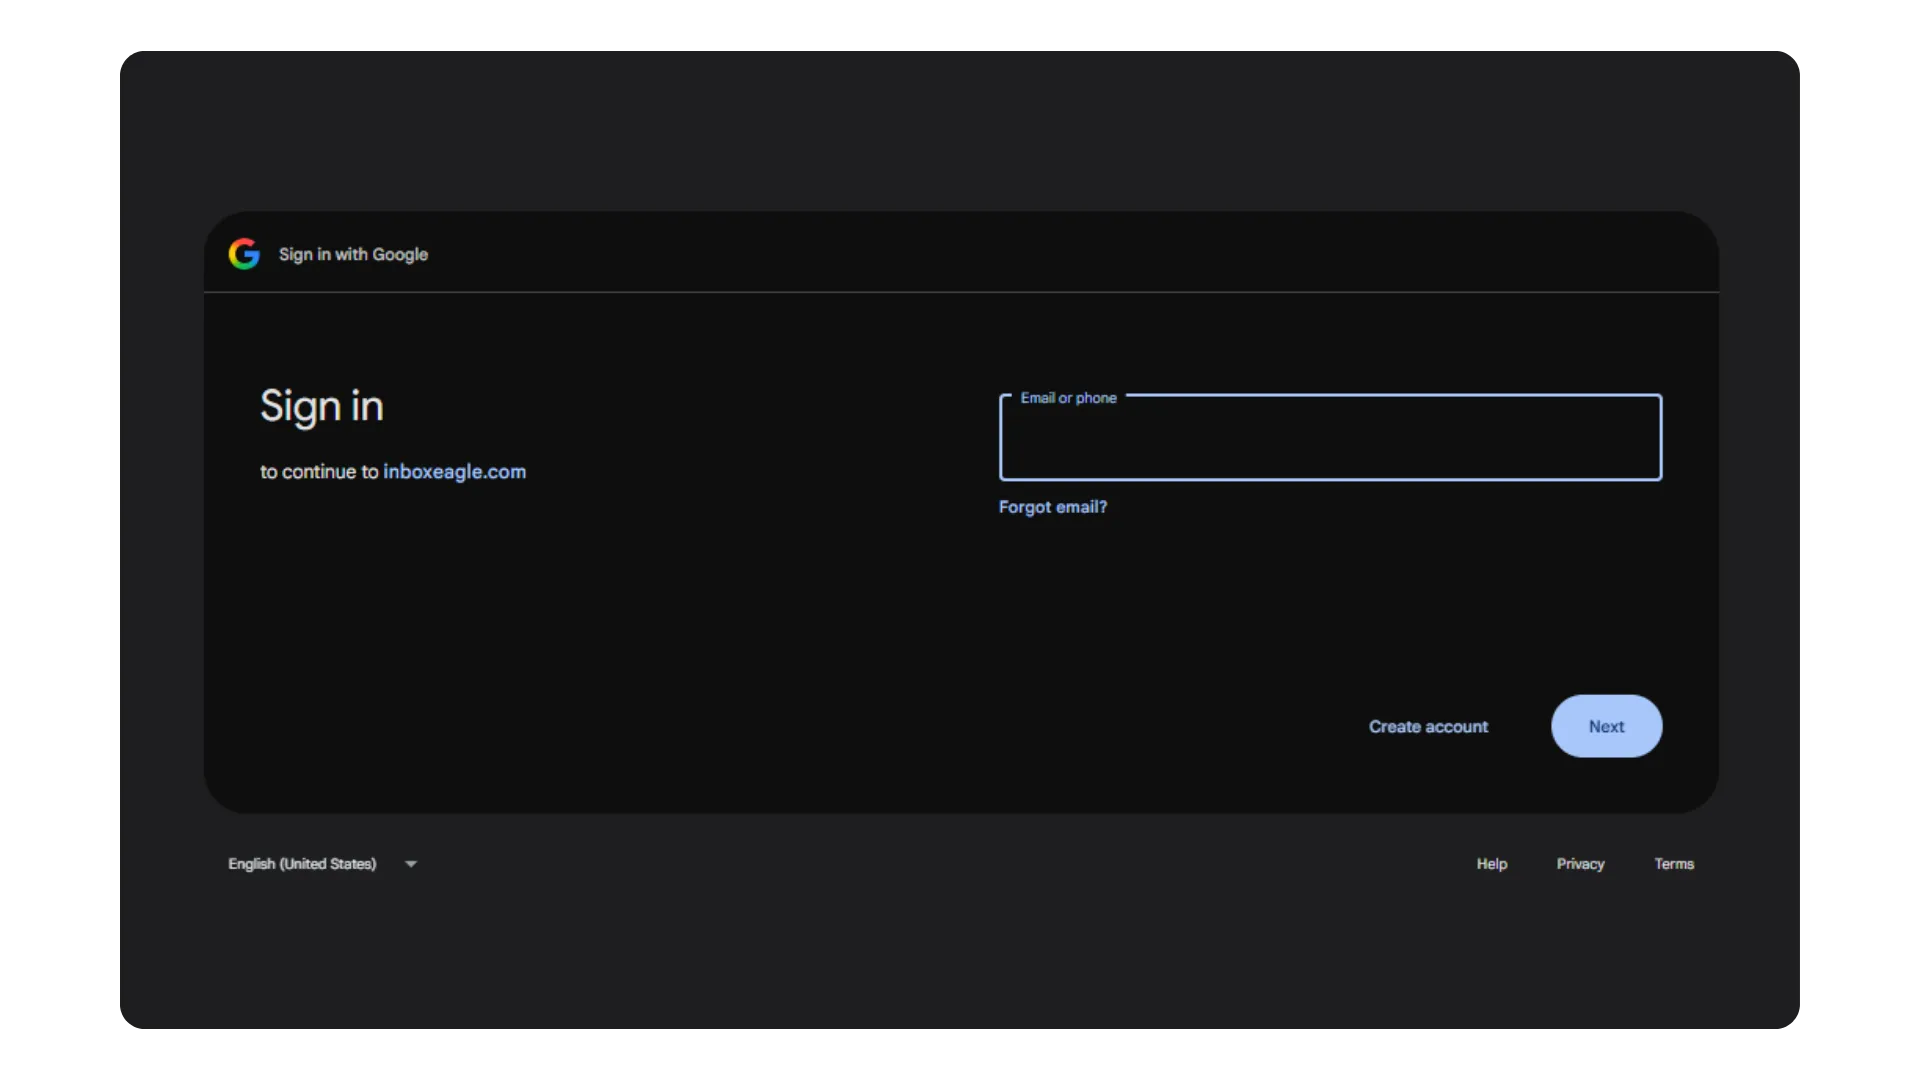
Sign in with the Google account associated with your sending domain.
-
You’re redirected back to InboxEagle once authentication completes.
You’re all set
Section titled “You’re all set”The final screen confirms your account is ready, and the sidebar checklist shows which steps you completed versus skipped.
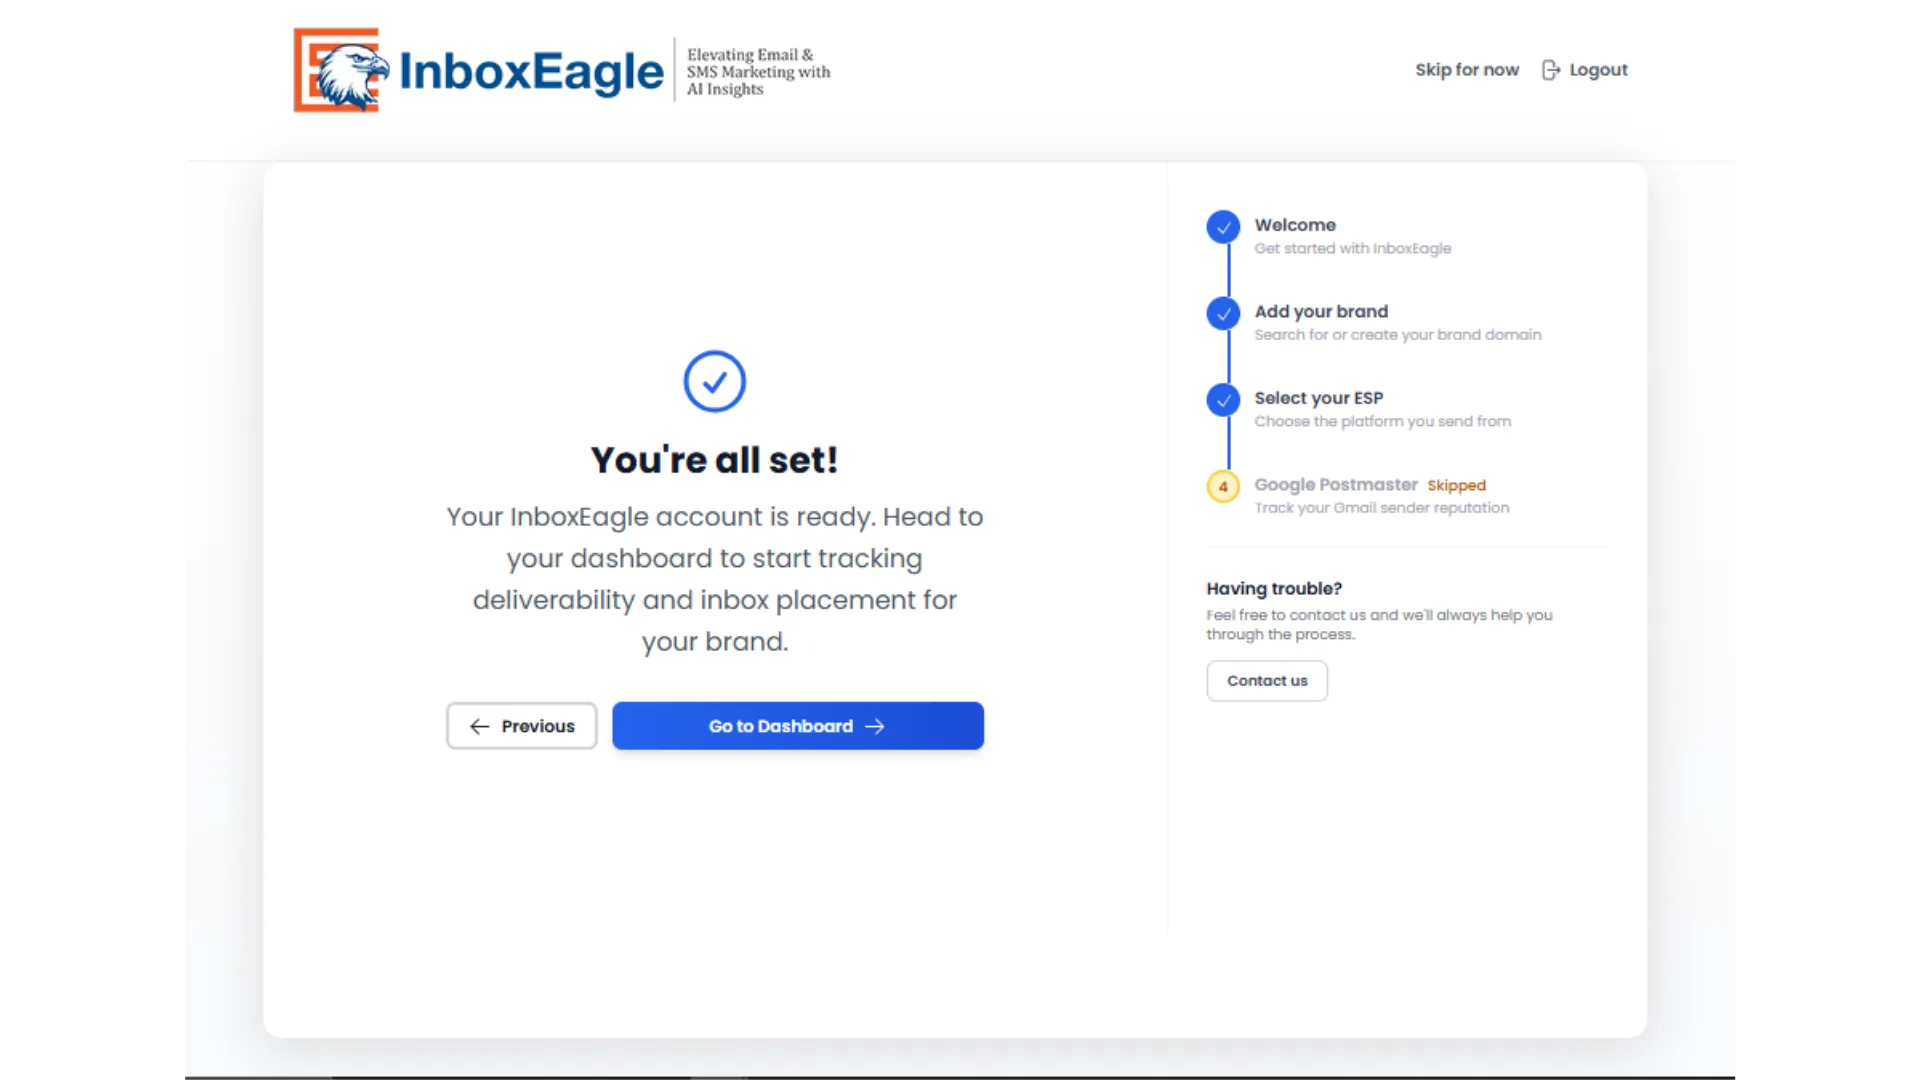
Click Go to Dashboard to finish.
Your dashboard
Section titled “Your dashboard”You’ll land on your InboxEagle dashboard, showing your brand’s status, AI operational feed, and integration status (Klaviyo, Google Postmaster, AWS SES) for anything you skipped during onboarding.
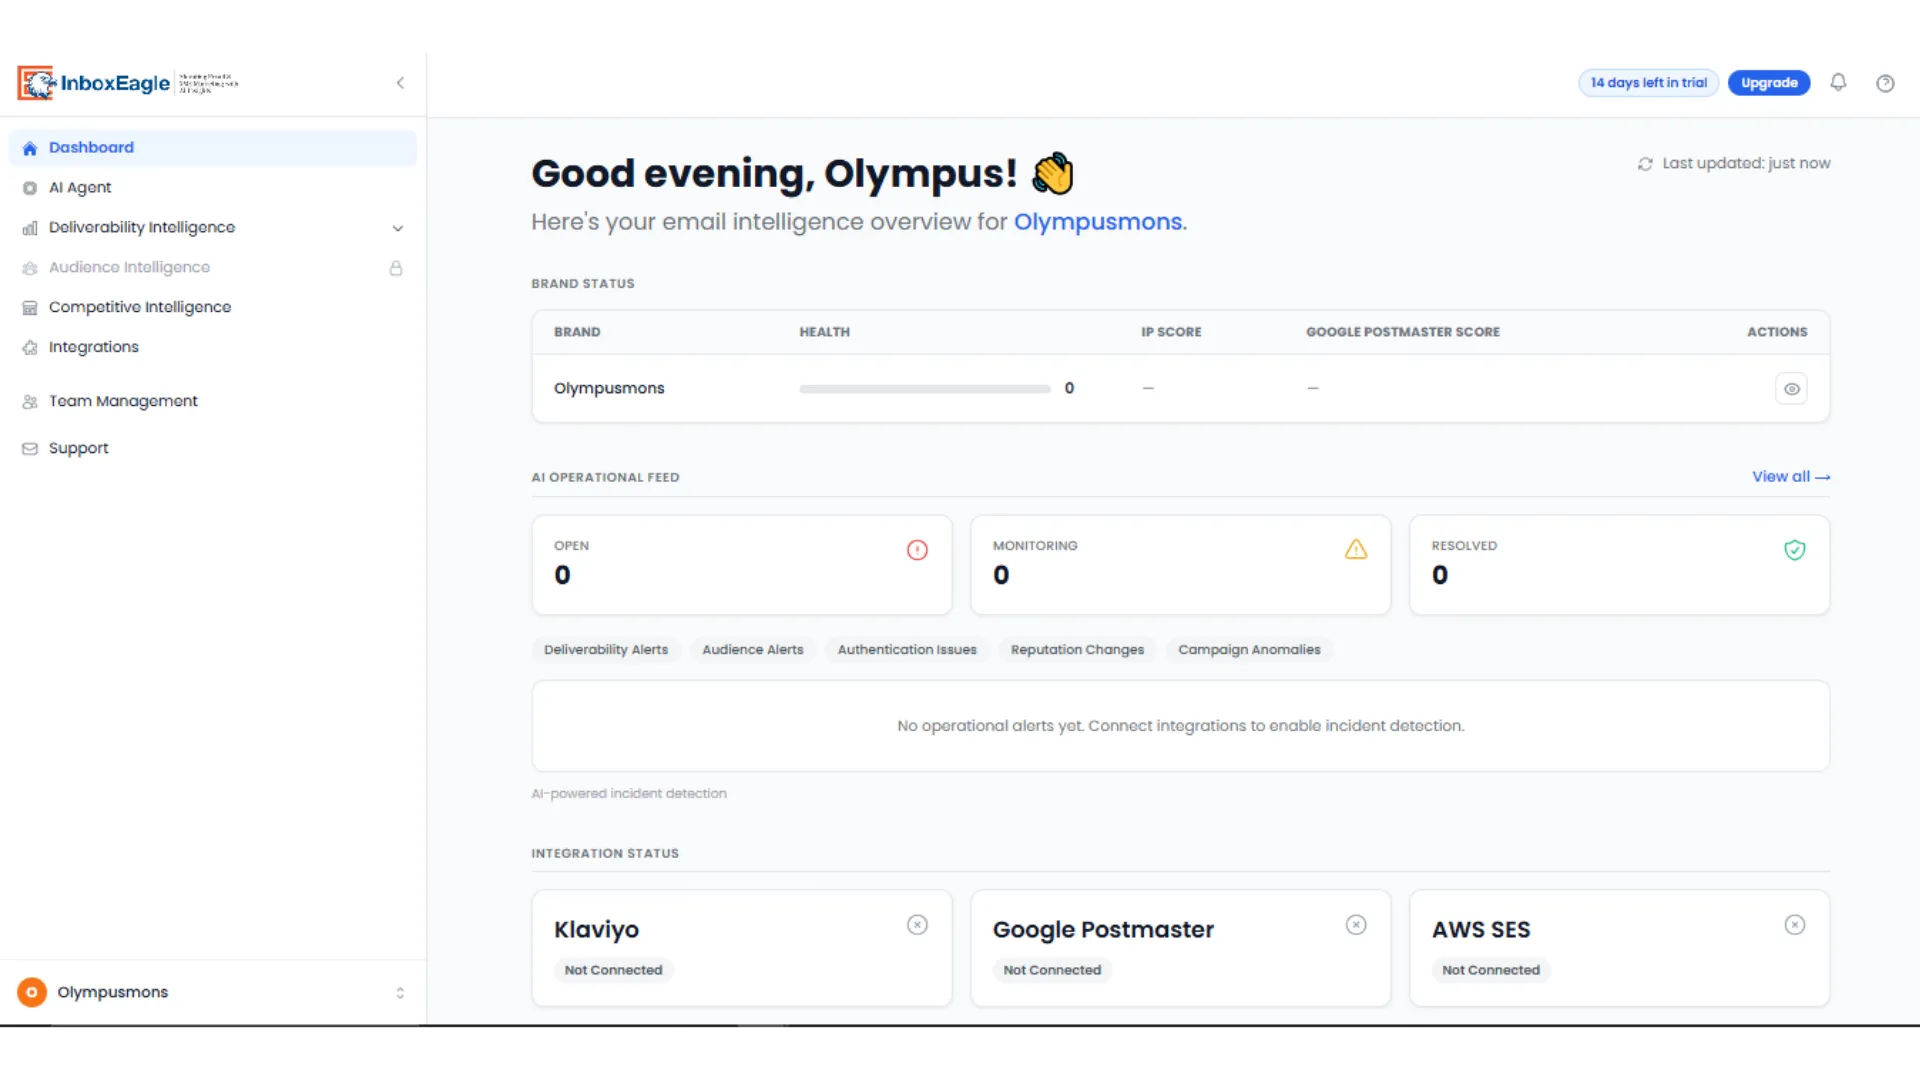
Deliverability data starts appearing as soon as an integration is connected. Skipped everything? Connect your first integration from Integrations in the left sidebar.
Next steps
Section titled “Next steps”Open the onboarding wizard →